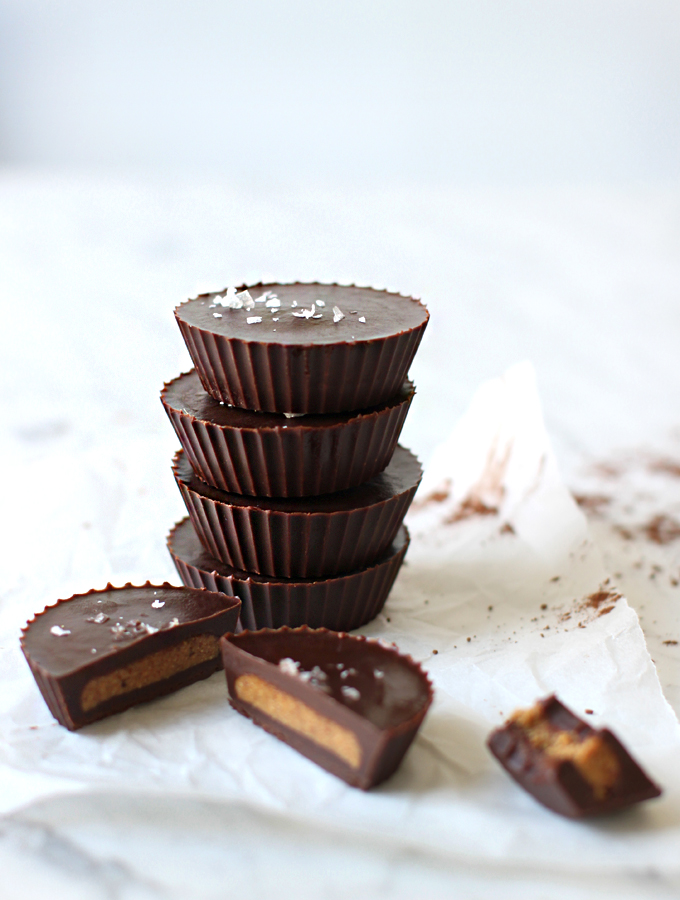
Superfood Nut Butter Cups
I had pretty peculiar and passionate habits around candy as a kid. You can imagine then, that my favorite holiday of the year was Halloween.
I clearly remember coming home at the end of an exhausting night with my pillow case busting at the seams full of sugary bliss, dumping it all out on the living room floor and methodically sorting it. Little mountains of gummies, hard candies, mini chocolate bars and suckers landscaped the broadloom and I sat back admiring the new world I’d created. Obsessive? Oh yea. Freakishly.
But it didn’t stop there. Everything would then get put into smaller bags according to the type of candy and those into even smaller bundles according to how much I valued that particular item. I believe most “normal” kids would eat their favorite things first, but oh no, not me. I would actually suffer through all the cruddy stuff first and hoard the rest, usually well into the Christmas season when I knew my next shipment would be coming in with my stocking.
Where am I going with all of this? Well, to tell you that by the time Santa rolled into town I still had my Reese’s Peanut Butter Cups under my bed. Hands down, they were my all-time favorite.
What is it about the combination of peanuts and chocolate? Undoubtedly, it goes beyond the magic of salty-sweet coupling to achieve something inexplicably divine. And although I’ve moved on from Reese’s, I still obsess over this pairing, albeit with a slightly more, ahem, healthy attitude.
We all know that the one thing I really love making in my kitchen is food that tastes like indulgence, but is secretly good for you (kind of the point of this blog). The biggest compliment my husband can give is: “this tastes so bad for me!” Mission accomplished. These nut butter cups fit the bill with their silky smooth, decadent chocolate and salty, nutty filling. Can I also tell you that they are healthy? No joke! When I set out to make these chocolates, I wanted to make sure I could eat more than one of them and feel good about it because I believe that is how eating should be.
The wonderful thing about this recipe, is that you will learn how to make a basic raw chocolate that you can turn into anything. Candies, bars, syrup, chocolate coating, whatever! Even if you just want to eat the chocolate all on its own you can do that too. It’s super simple to make, only requires a few ingredients and is so much healthier than the regular kind of chocolate you buy at the store and melt down yourself. It’s totally raw, full of superfood antioxidants and energizing enzymes. Food to love that loves you back.
Lovin’ me some Lucuma
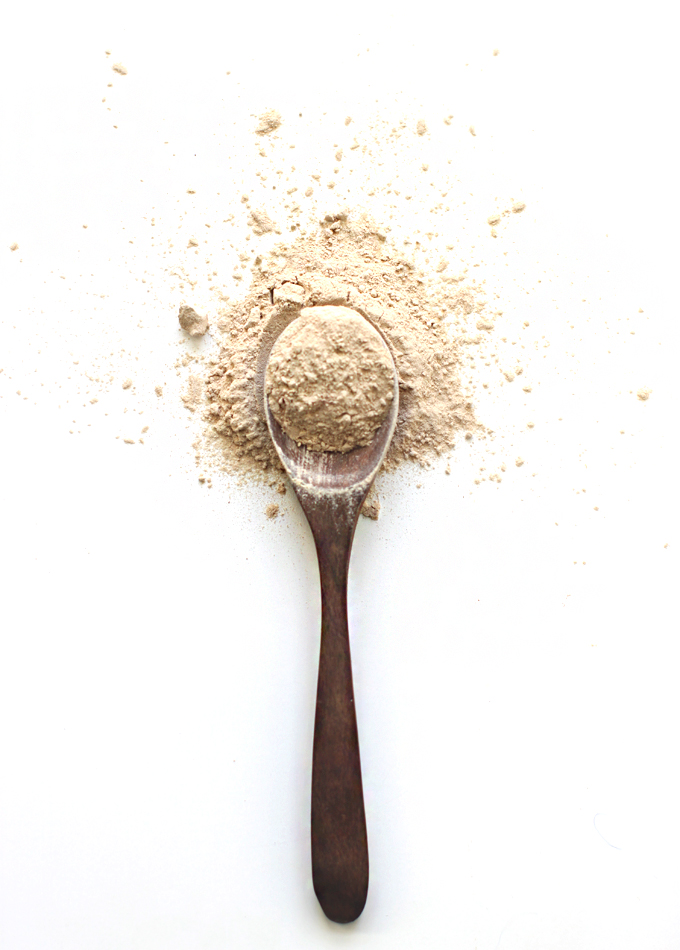
Here’s a groovy food I’ve never talked about before: Lucuma! Lucuma is a super fruit and a total superfood. It hails from Peru where it is known as “Gold of the Incas”, and has been cherished for centuries. Here in the west, the golden coloured pulpy fruit is rather difficult, if not impossible to find, so I purchase it its dried and powdered form.
Lucuma is sweet, but low on the glycemic scale, so it is perfect for anyone looking to decrease their sugar consumption. The flavour is similar to caramel or maple, so it lends itself to a wide variety of sweets. For breakfast, add a tablespoon of lucuma powder to smoothies, yogurt, and oatmeal. You can of course use it in desserts as well by blending it into pudding, cakes, cookies, candies, and bars. It is especially delicious in homemade ice cream!
Lucuma contains antioxidants, good amounts of fiber, healthy carbohydrates, and minerals such as zinc, calcium and iron. Judging the by the bright, yellow-orange hued flesh, we know that it is packed with beta-carotene, a powerful anti-carcinogenic compound.
Look for lucuma at health shops and natural food stores. Lucuma that has been dried at low temperatures and stone-ground is of the highest quality, as these processes preserve many of the delicate nutrients the fruit contains. If you are going to be using it in baked goods, this is less important. I’ve seen a few recipes online that use lucuma in cupcakes, breads, and cookies, which all sound amazing. If any of you have had success using lucuma in baked treats, let us know in the comments.
Superfood Nut Butter Cups
Makes 12 standard muffin cup-sized candies (I found these quite large however, so make minis if desired)
Basic Raw Chocolate
Makes about 1 ½ cups
Ingredients:
1/2 cup melted coconut oil
3 Tbsp. melted cacao butter
¾ cup raw cacao powder
1/3 cup raw honey
2 Tbsp. lucuma (optional – add 2 Tbsp. of maca or cacao powder if not using)
¼ tsp. sea salt
extra sea salt for garnish, if desired. A good, flaky salt is best.
Nut Butter Filling:
1/2 cup almond butter (or any nut butter: cashew, pecan, hazelnut…)
1 Tbsp. raw honey (or maple syrup)
1 Tbsp. lucuma powder (optional – add 1 Tbsp. of sweetener if not using)
sea salt to taste
Directions:
1. In a double boiler (or a glass bowl over a pot of simmering water) melt coconut oil and cacao butter. Add honey and whisk to combine. When completely uniform, remove from heat and sift in cacao, lucuma and add sea salt. Taste for sweetness and saltiness, and adjust accordingly.
2. In silicon or paper muffin cups spoon enough liquid chocolate to cover the bottom (the amount is up to you – I kept mine rather thin). Place in the fridge or freezer and cool until solid, about 15 minutes. Remember that you are only using about 1/3 of the chocolate at this stage.
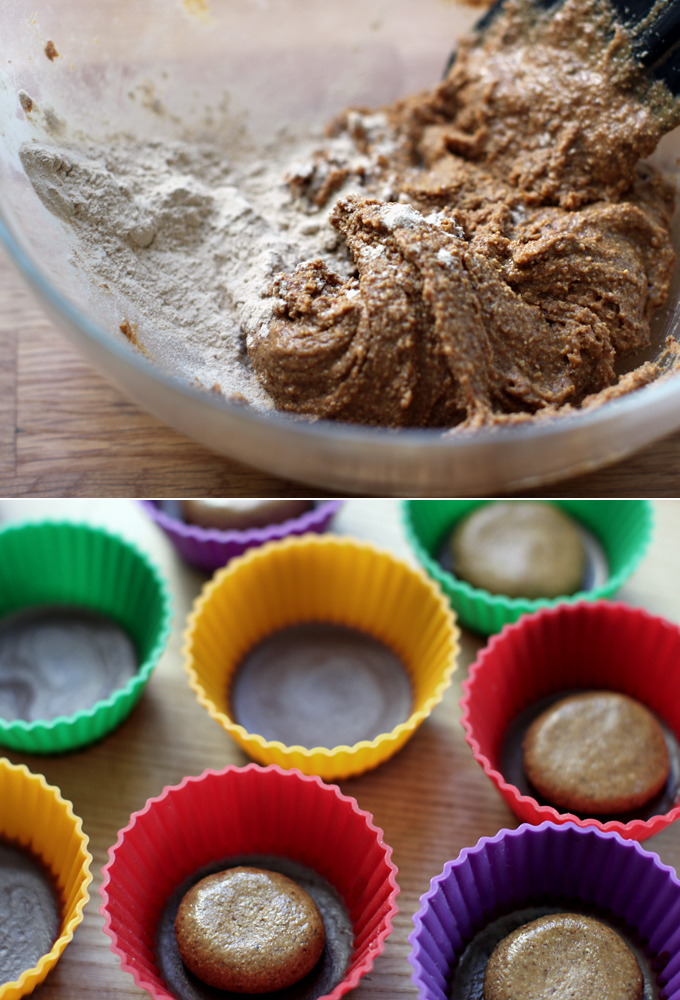
3. Make the nut butter filling (you can find recipes here for almond butter and hazelnut butter) by combining all of the ingredients until a “dough” is formed. Add more lucuma if it is too wet and runny. Taste for salt. This dough should be quite salty, but if you are using store-bought nut butter with added salt, don’t go overboard.
4. Spoon the nut dough into ½ tablespoon amounts, roll into balls, and flatten between your palms to just under the size of the chocolate in the cups.
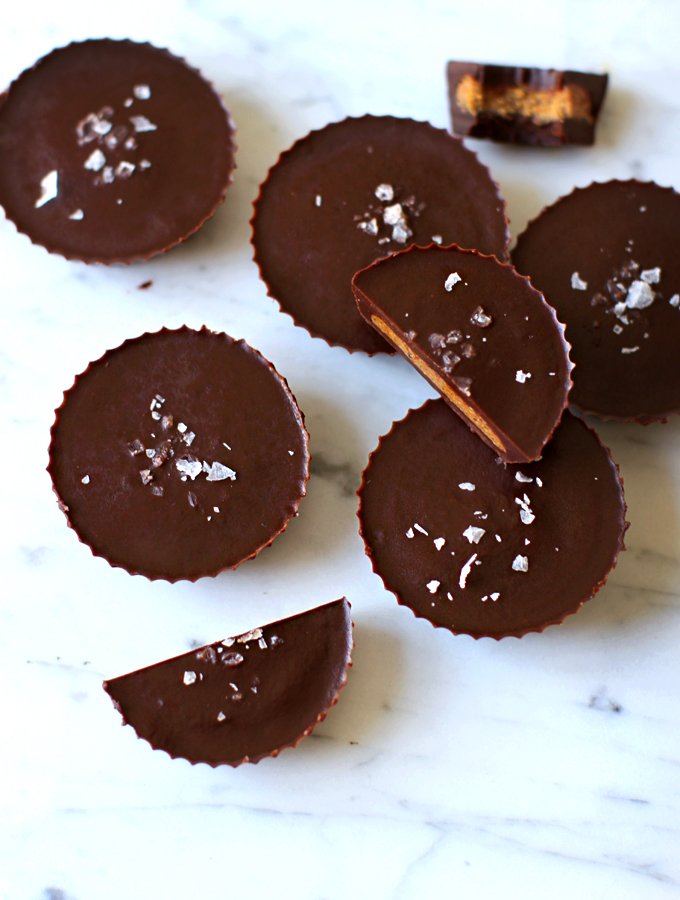
5. Add nut butter filling to each cup on top of the solid chocolate and drizzle the remaining liquid chocolate on top, making sure to cover the filling completely. Sprinkle with flaky sea salt if desired. Place in the fridge to harden for at least one hour.
5. When you have patiently waited, try removing one of the forms from the nut butter cups. If the chocolate sticks at all, return to the fridge until completely solid.
6. You can keep the chocolates in their forms or remove them, but either way store the nut butter cups in the fridge in a sealed container. Enjoy!
http://www.mynewroots.org/site/2013/03/superfood-nut-butter-cups/


